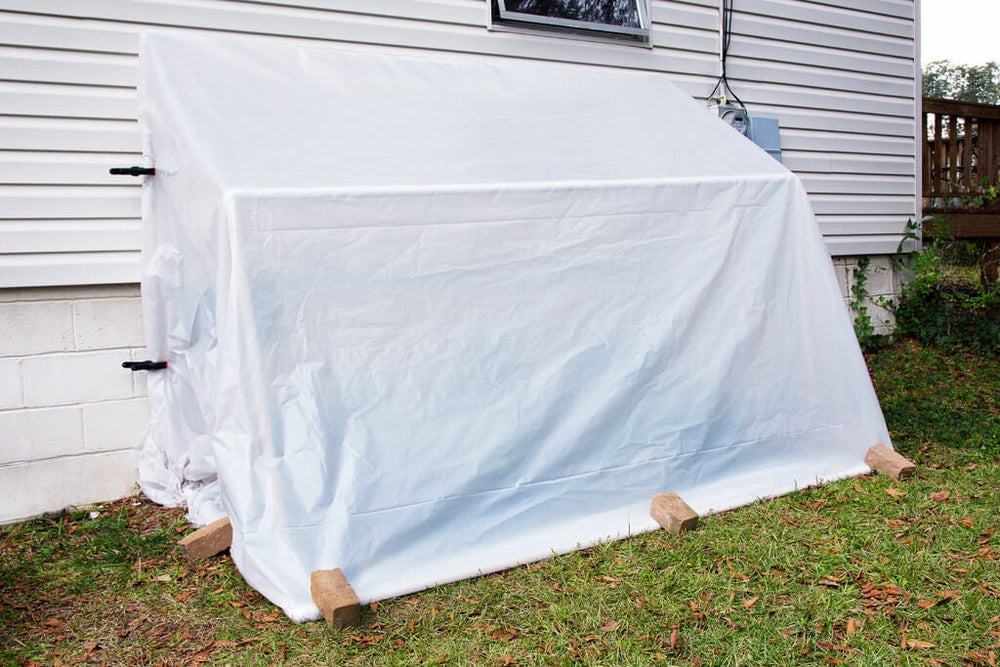
This simple, inexpensive greenhouse folds down to protect your plants during early frosts and cold snaps, then can be raised up on warmer days to allow them full access to sunlight and rain.
This simple, inexpensive greenhouse folds down to protect your plants during early frosts and cold snaps, then can be raised up on warmer days to allow them full access to sunlight and rain. Made with PVC pipe and plastic, it's light, yet sturdy enough to withstand winds when placed in a somewhat sheltered location.
Cut the pipes yourself, or make it easy by having them pre-cut at your local home improvement store. Choose a spot that gets at least 6 hours of sun per day, then build it in a single afternoon to protect your plants all season long. An important note about plant placement: When you arrange your plants inside the greenhouse, make sure they do not touch the sides or top of the lowered structure. Plastic will actually conduct cold to anything it's directly touching. To assemble our fold-down greenhouse, scroll down for instructions, or download our printable How to Build a Fold-Down Greenhouse PDF guide.
Estimated Time: 2 hours (Less if you have pipes pre-cut)
Project Difficulty: Easy (with a helper) to Moderate
List of Materials
8 – 1-inch x 10-foot-long PVC pipes
8 – 1-inch elbow fittings
2 – 1-inch tee fittings
4 – 1¼-inch tee fittings
2 – ¾-inch x 5-foot-long pieces metal conduit
1 box #8 x ¾-inch lath washer head screws
2 – ¼-inch x 3-inch bolts
25 feet of 12-foot wide 4 mm plastic sheeting (UV-rated will last longer)
3 – 2- to 3-foot lengths of coated light-duty utility chain
* or can have pipes pre-cut at home improvement store per lengths in Parts List
Parts List:
Part
Quantity
Size
Back frame stiles
2
1 x 72
Back frame rail
1
1 x 96
Bottom frame back rail
1
1 x 94
Bottom frame stiles
2
1 x 60
Bottom frame front rail
1
1 x 92
Middle frame rail
1
1 x 89¼
Middle frame stiles
2
1 x 44
/>
This greenhouse folds up and out of the way when your plants don't need protection from the cold.
Instructions
Choosing and Preparing Your Location
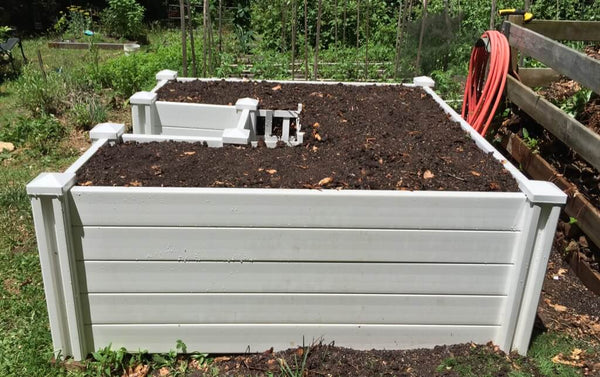
Pick a flat, well-drained area along a wall of your home, garage, or out-building with at least 10 feet of uninterrupted length and 6 or more hours of sun exposure. Make sure that no wiring or pipes run within a foot of the wall. You'll need clearance to about 8 feet away from the wall for greenhouse assembly.Using a rubber mallet or small sledge hammer, drive two 5-foot sections of conduit pipe at least 12 inches into the ground adjacent to the wall, about 8 feet apart. Place them as close to the wall as you can. If you have trouble driving the pipe into the ground, you can use a 3/4- or 1-inch soil auger to create a hole.
Cutting the Pipe
Cut each PVC pipe part as needed using a hacksaw, jigsaw, or miter saw. Double check measurements at each step. (Alternatively, you can have this done at your local home-improvement store.)
Building the Frame
To create the back frame stiles, insert a 72-inch length of PVC pipe over each piece of conduit. Slide a 1¼-inch PVC tee over each stile. Press each one into the ground as far as you can, making sure the remaining tee openings are facing each other, parallel to the wall. Place a 1-inch 90-degree elbow on the top end of each back frame stile, again making sure the openings are facing each other, parallel to the wall. Insert the 96-inch length of PVC pipe (the back frame rail) into the elbows at the tops of the back frame stiles, as shown in Figure 1.Place a 1-inch tee on each end of the 94-inch length of PVC pipe (bottom frame back rail), so that one point of each tee is perpendicular to the rail, as shown in Figure 2. Make sure the tees are parallel to each other.Insert the ends of the rail/tee assembly into the 1¼-inch tees on the back frame stiles, as shown in Figure 3.Place a 1-inch 90-degree elbow on one end of each of the two 60-inch lengths of PVC pipe (bottom frame stiles). On the opposite ends, place a 1¼-inch tee on each stile, 45½ inches from the end. Attach tees to the stiles using #8 x ¾-inch lath screws, as shown in Figure 4. Insert a 1-inch 90-degree elbow inside the open point of each of the 1¼-inch tees, making sure they are positioned perpendicular to the stile; drill a ¼-inch hole through each tee-and-elbow pair. (Mark a symbol on each of the elbows and tees so they can be matched later.) These holes will be used for inserting a bolt at a later step.Insert the ends of the stiles without the elbows into the 1-inch tees on the bottom frame back rail. Make sure the elbows are facing each other. Lay the parts flat on the ground. Insert the 92-inch length of PVC pipe (bottom frame front rail) into the elbows on the end of the stiles, as shown inFigure 5Place one of the 1-inch 90-degree elbows with a ¼-inch hole on one end of each of the two 44-inch lengths of PVC pipe (middle frame stiles). The ends without the holes should go over the stiles. Insert the ends of the elbows into their matching tees on the bottom frame stiles, and insert a ¼-inch x 3-inch bolt into the holes. This should allow the middle frame stiles to remain upright, as shown in Figure 6Place a 1-inch 90-degree elbow on the opposite ends of each of the middle frame stiles, making sure the elbows face each other. Insert the 89¼-inch length of PVC pipe (middle frame rail) inside the elbows, as shown in Figure 7
Attaching the Plastic
Drape the plastic over the entire assembly so that a few inches of plastic extends beyond the frame in all directions, as shown in Figure 8.Hold the plastic in place against the back frame rail and back frame stiles using spring clamps. Starting at the center of the back frame rail, begin driving #8 x ¾-inch lath screws through the plastic and into the pipe, as shown in Figure 9. The washer heads of the screws will hold the plastic in place. Work out from the center of the rail to one back frame stile, tucking and attaching the plastic as you go, adding a screw every few inches. Work all the way down to the bottom frame stile.For added stability, attach the 1¼-inch galvanized pipe straps over the back frame stiles and/or the back frame rail, screwing them into the wall with #8 x ¾-inch lath screws, as shown in Figure 10.At the bottom frame stile, start pulling the plastic underneath and inside the entire bottom frame, as shown in Figure 11, working from back to front. (Do not attach the plastic to the bottom frame yet.)Return to the center of the back frame rail and attach the plastic to this rail, working in the opposite direction from where you started until you reach the back frame stile. Go back to the first bottom frame stile and begin attaching the plastic, as shown in Figure 12, continuing to pull and tuck the plastic to bring it taut. (As you will be working from the inside of the assembly at this point, it's useful to have an assistant on the outside who can guide the process and help spot and smooth wrinkles.) Work your way around the frame until you come within 24 inches of the back frame stile opposite from where you began. Do not attach the plastic within this 24-inch space, or to the adjacent back frame stile, as you want to leave a gap that will allow you to enter and exit the greenhouse. You will keep this flap closed using a couple of plastic-body spring clamps. To hold the frame in place when it's down, weight the bottom edges with bricks or paver pieces.
Folding Up the Frame
Attach one spring link to the end of each length of chain. From inside the assembly, remove the bolts holding the middle frame upright (to release tension, lift up the bottom frame a few inches) and lower the middle frame toward the back frame, making sure the elbows stay in the 1¼-inch tees on the bottom frame stiles. Lift up the entire assembly, rotating the 1-inch tees of the bottom frame inside the 1¼-inch tees of the back frame stiles. Push the assembly against the wall, loop the chain around the back frame rail, bottom frame front rail (which is now upright) and the plastic, and connect the ends of the chain using the spring link. Position one chain near each end of the assembly, and one in the center, as shown above.


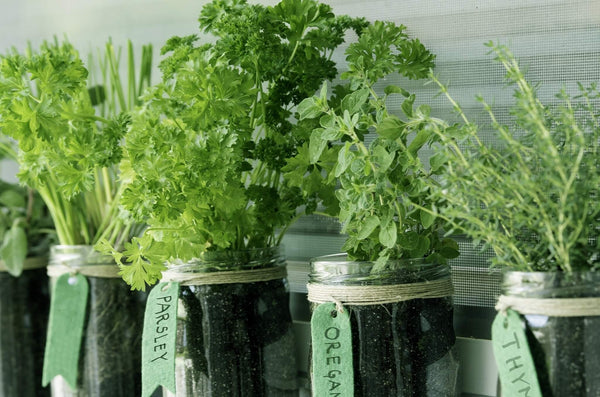
 Herbs
Herbs
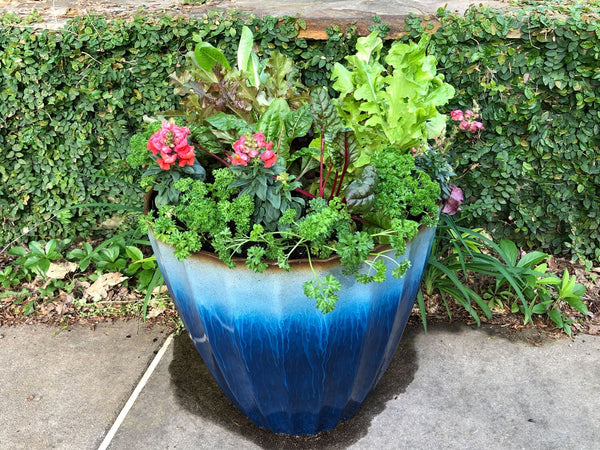
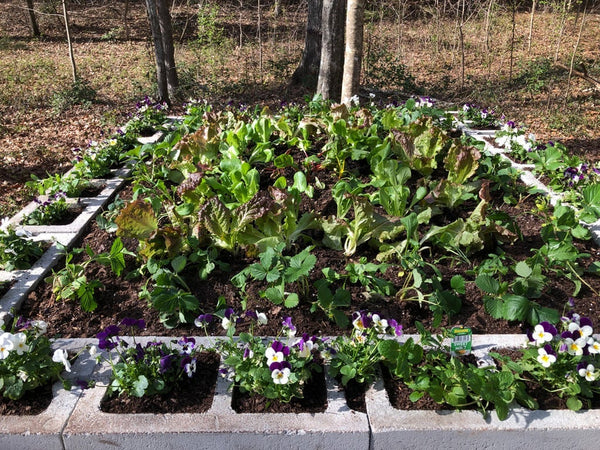
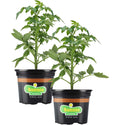
 Vegetables
 Fruit
Fruit
 Flowers
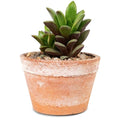 Succulents


 />
/>