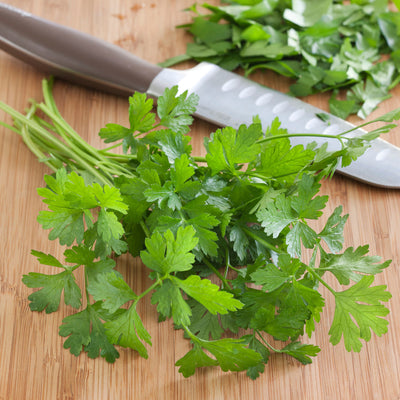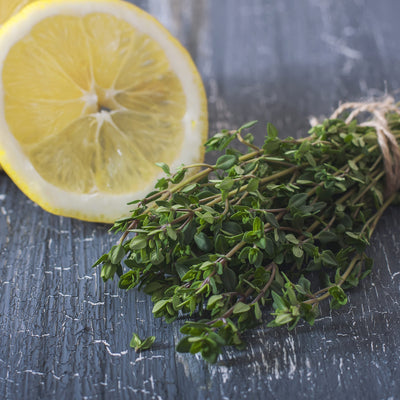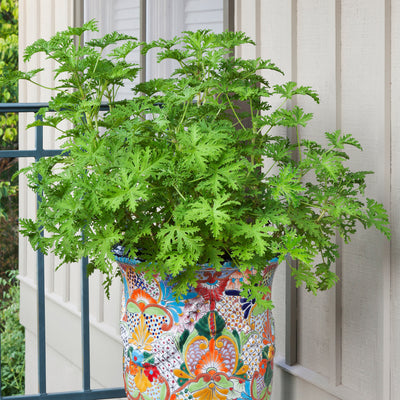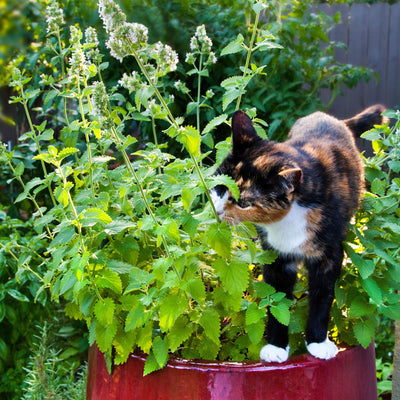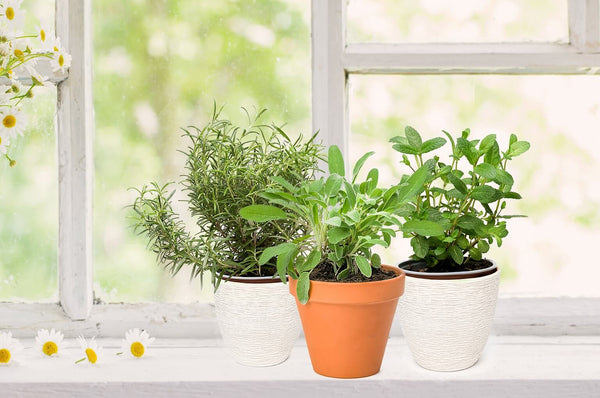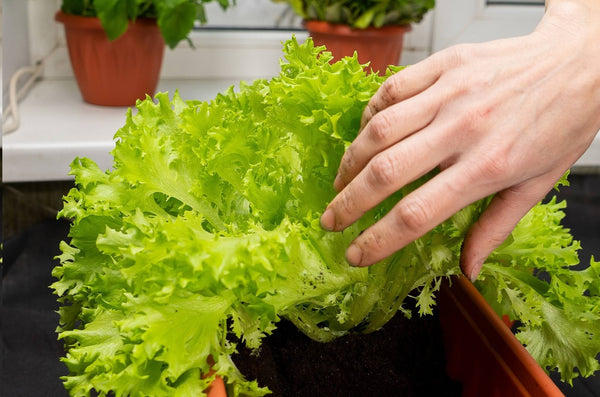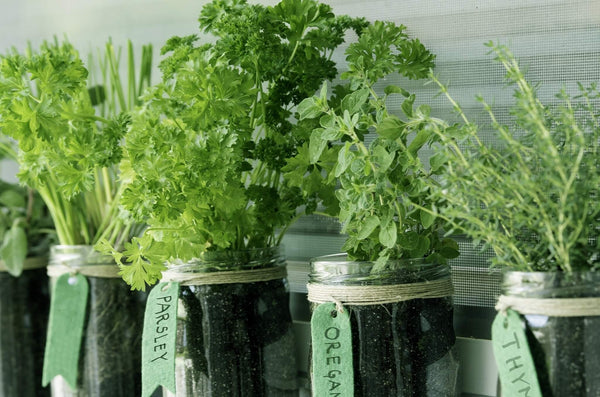


 Herbs
Herbs
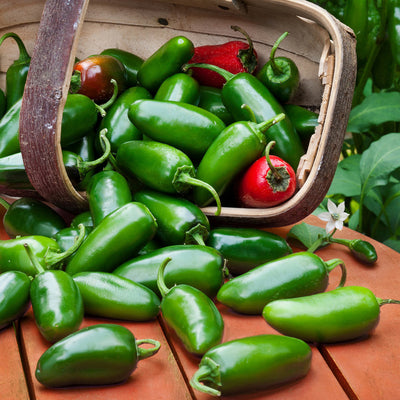
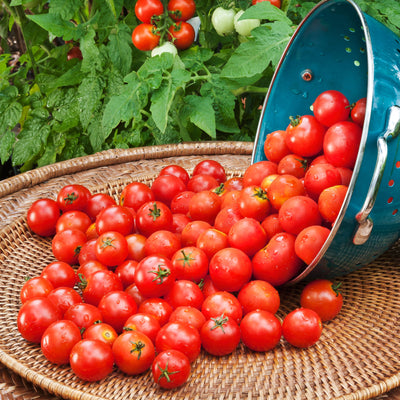
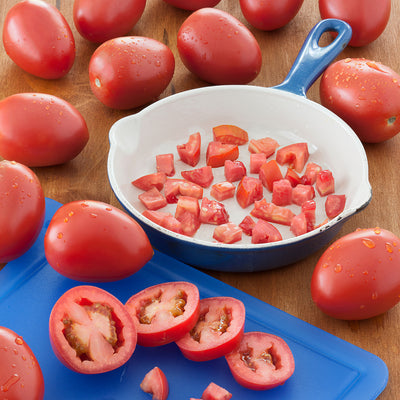
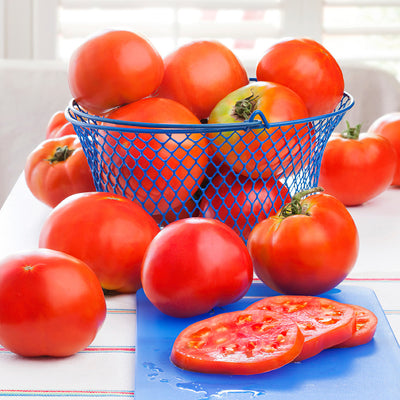
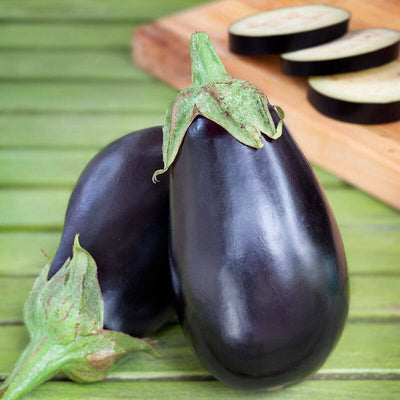
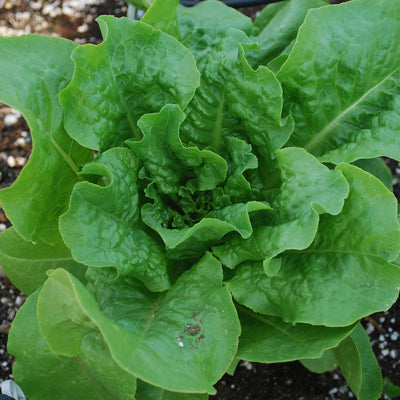
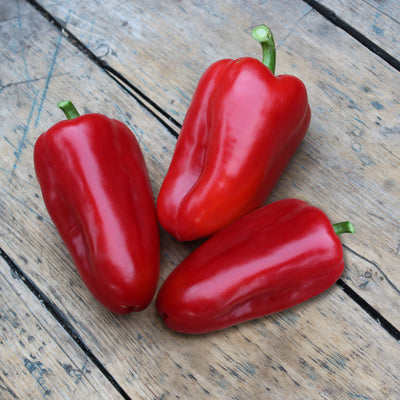
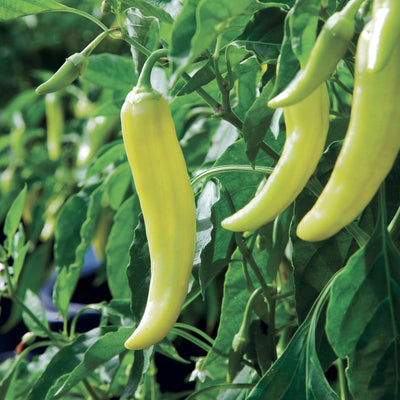
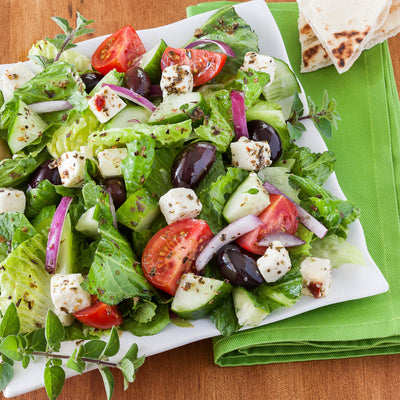
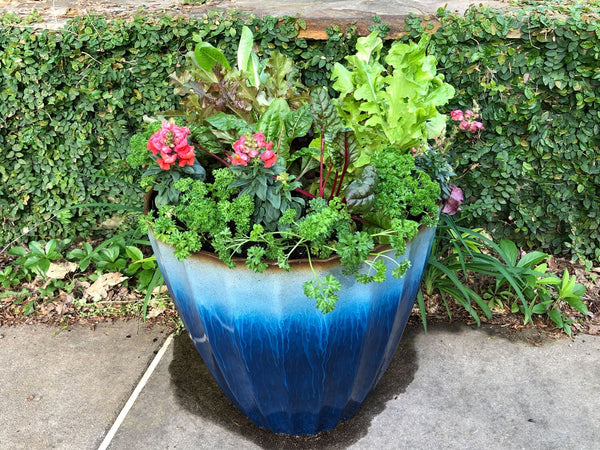
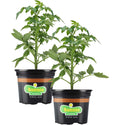
 Vegetables
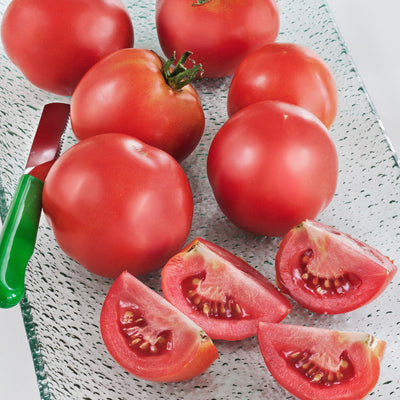
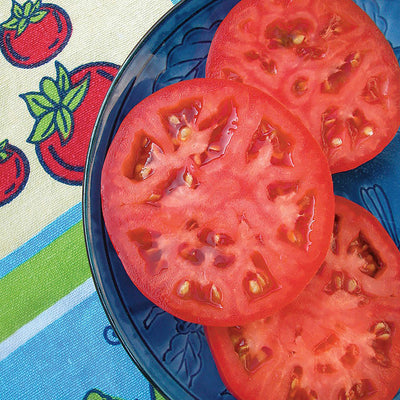
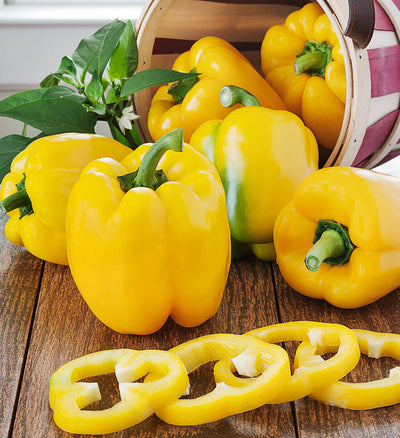
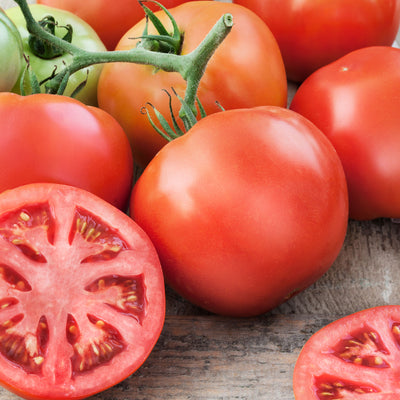
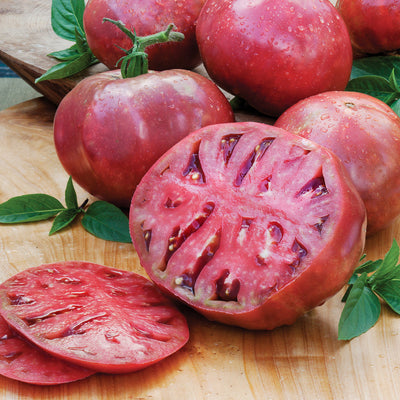
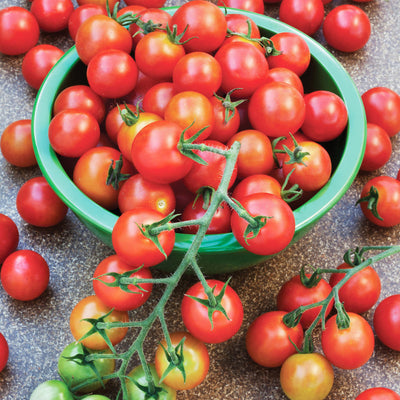
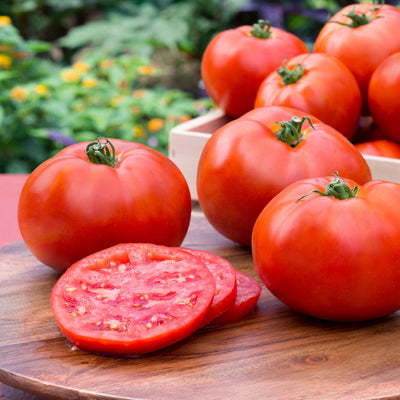
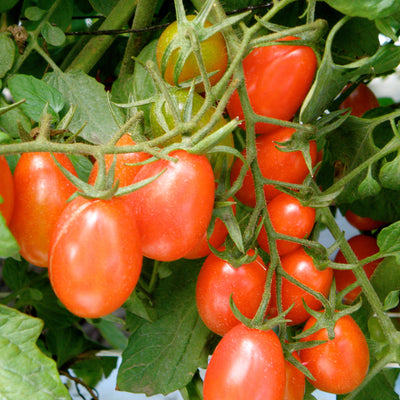
 Fruit
Fruit
 Flowers
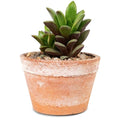 Succulents


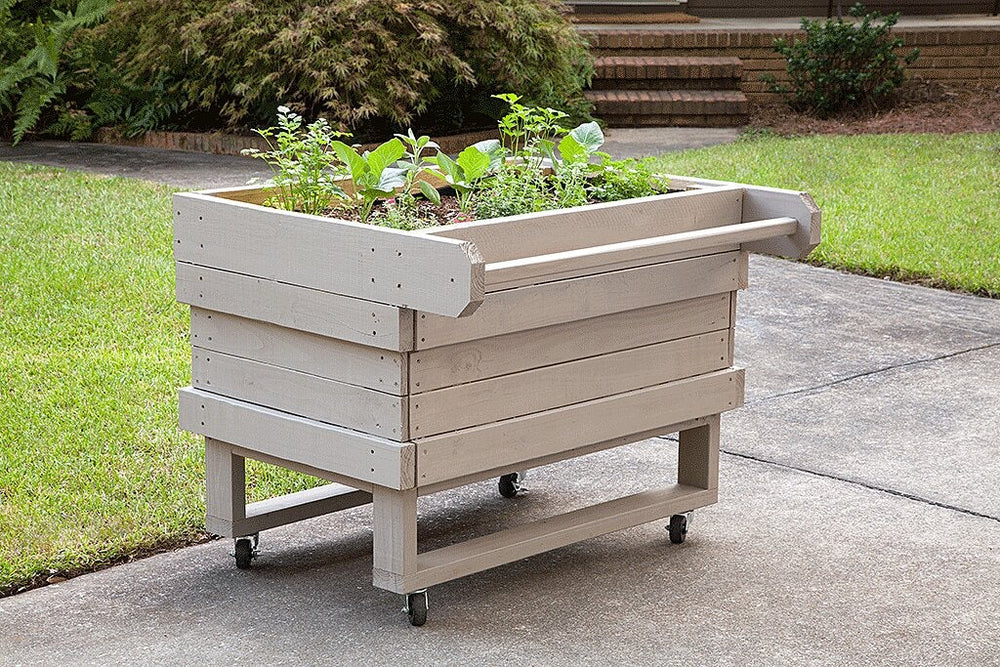
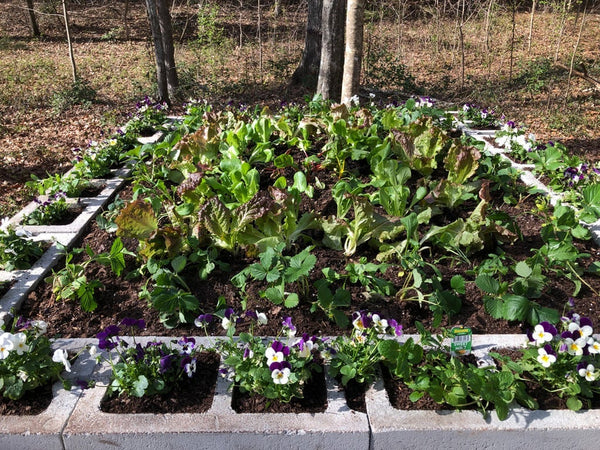
Thanks to casters and a built-in handle, this roomy portable planter can be moved around your driveway or deck to take advantage of anywhere you have sun and a bit of extra space. It's perfect for growing greens and herbs, but the soil is also deep enough that plants that need more space, like peppers or broccoli, will thrive in it as well. What's more, this great-looking planter can be painted or stained to complement the look of your home and landscape.
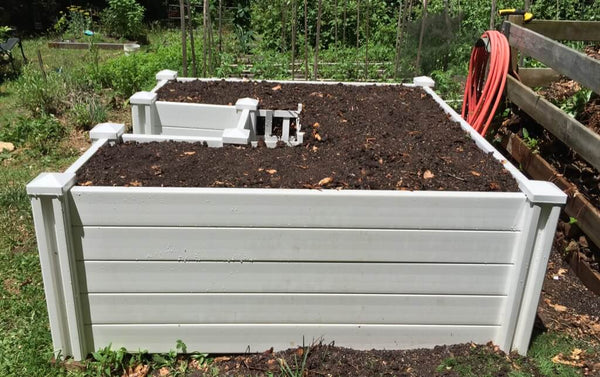
For best results, use premium quality soil made specially for raised bed growing, such as Miracle-Gro® Raised Bed Soil, and feed plants regularly with a continuous-release plant food like Miracle-Gro® Shake ‘n Feed® Tomato, Fruit & Vegetable Plant Food. On this page, you'll find a slideshow with instructions, a how-to video, and a link to download a printable PDF guide. If you have tools and experience, feel free to cut the lumber yourself. If not, when you purchase it, ask the folks at your local home improvement store to cut it for you.
Estimated time: 2.5 hours (less if you have wood pre-cut)
Project difficulty: Easy
List of tools
- Miter saw or circular saw*
- Drill/driver with #10 countersink bit and 1½" spade or Forstner bit
- Staple gun
- Clamps
- Square
- Measuring tape
* or can have lumber pre-cut at home improvement store per dimensions in Parts List
List of Materials
- 7 – 1′ x 4′ x 8′ boards
- 1 – 2′ x 2′ x 8′ board
- 7 – 2′ x 4′ x 8′ boards
- 2 – 2′ x 6′ x 8′ boards
- ¾" galvanized staples
- 1¼" deck screws
- 1¼"washer-head lath screws
- 2½" deck screws
- 3″ deck screws
- 4 – 2½"heavy-duty lockable swivel casters
- Galvanized hardware cloth
- Landscaping cloth
- 6 bags of Miracle-Gro® Raised Bed Soil


Parts list (see Cutting Diagram below)
| Part | Quantity | Size |
|---|---|---|
| Post rails | 2 | 1½ x 3½ x 39 |
| Posts | 4 | 1½ x 3½ x 27⅛ |
| Mid stretcher | 1 | 1½ x 3½ x 21½ |
| Long stretchers | 2 | 1½ x 3½ x 36 |
| Bottom short rails | 2 | 1½ x 3½ x 27½ |
| End stretchers | 2 | 1½ x 3½ x 17½ |
| Short bottom slats | 2 | ¾ x 3½ x 36 |
| Long bottom slats | 5 | ¾ x 3½ x 39 |
| Wide long rails | 2 | 1½ x 5½ x 39 |
| Top long rails | 2 | 1½ x 3½ x 39 |
| Mid long rails | 4 | ¾ x 3½ x 39 |
| Bottom long rails | 2 | 1½ x 3½ x 39 |
| Handle supports | 2 | 1½ x 5½ x 35½ |
| Handle | 1 | 1½ x 1½ x 39 |
| Top short rails | 2 | 1½ x 3½ x 27½ |
| Mid short rails | 4 | ¾ x 3½ x 26 |
Finished Dimensions
- Height: 31⅛"
- Width: 42″
- Length: 35½"
Design by Chris Hill.