


 Herbs
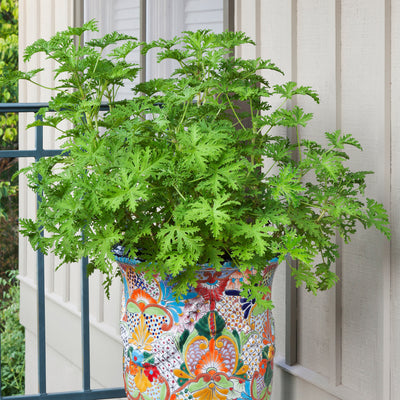
Herbs
 Vegetables
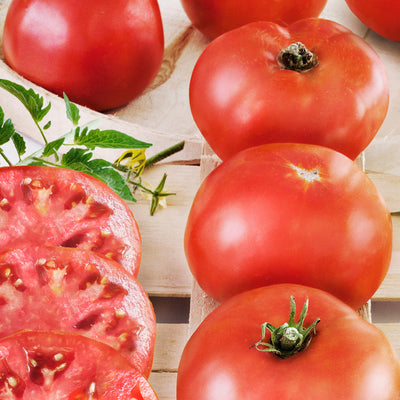
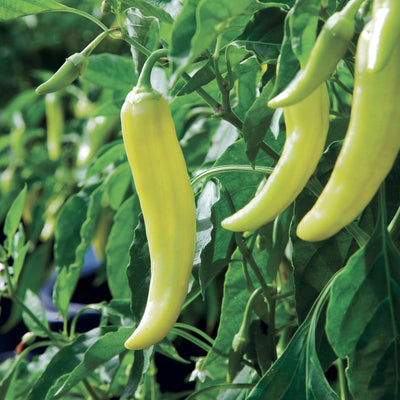
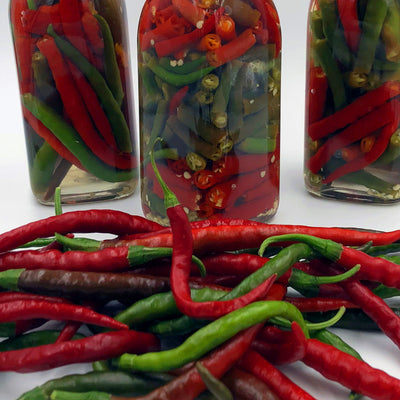
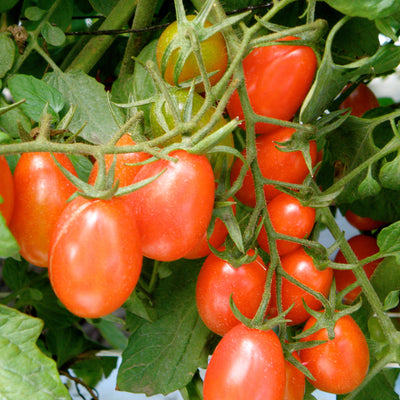
 Fruit
Fruit
 Flowers
 Succulents


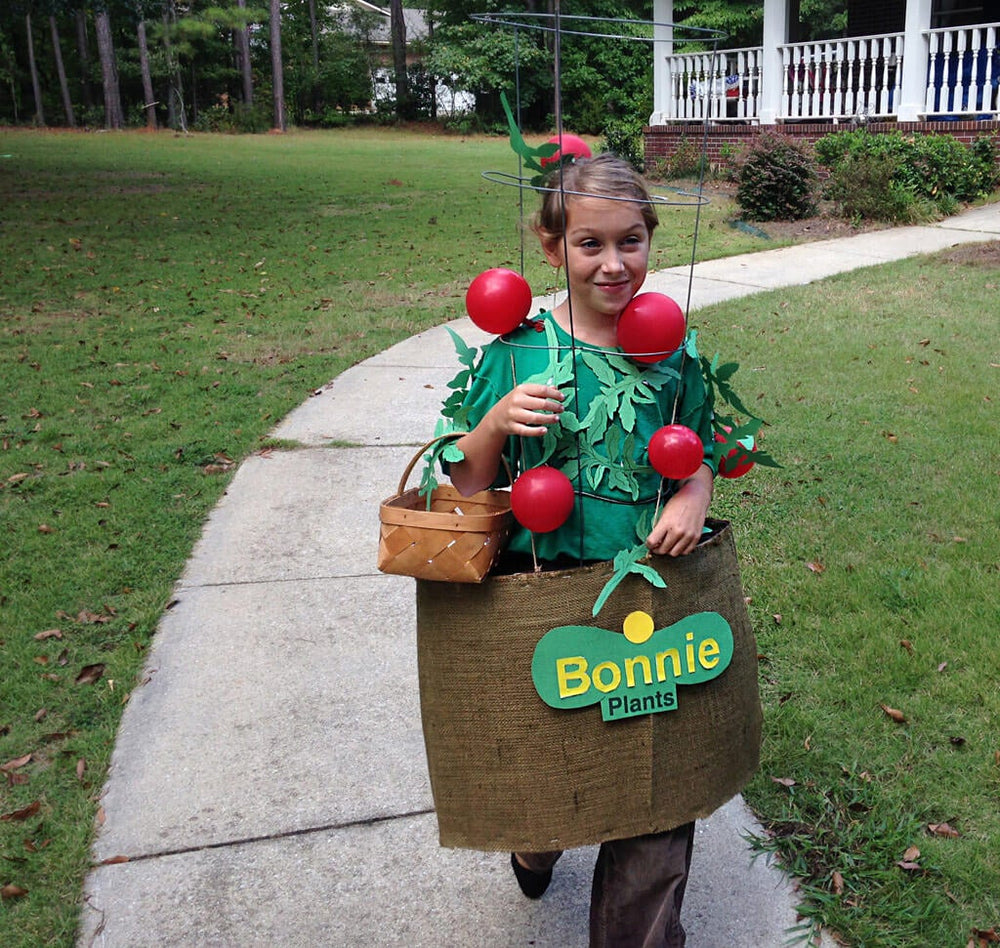
Ah, fall! I love the smell of pumpkin pie, the leaves falling on the ground, and the cool weather. It just so happens it's also time to get your juices flowing to make a terrific Halloween get-up, like this DIY Tomato Costume. It's easy, inexpensive, and sure to win any costume contest around. Here's how to do it.
And hey, once you finish, be sure to post a photo of your creation on Bonnie Plants' Facebook wall—we'd love to see it!

DIY Tomato Costume
Estimated time: 1-2 hours
Estimated cost: Under $25
Items needed
- 1 cardboard box
- 1 tomato cage
- 5-10 red balloons
- 1 yard burlap (approximate)
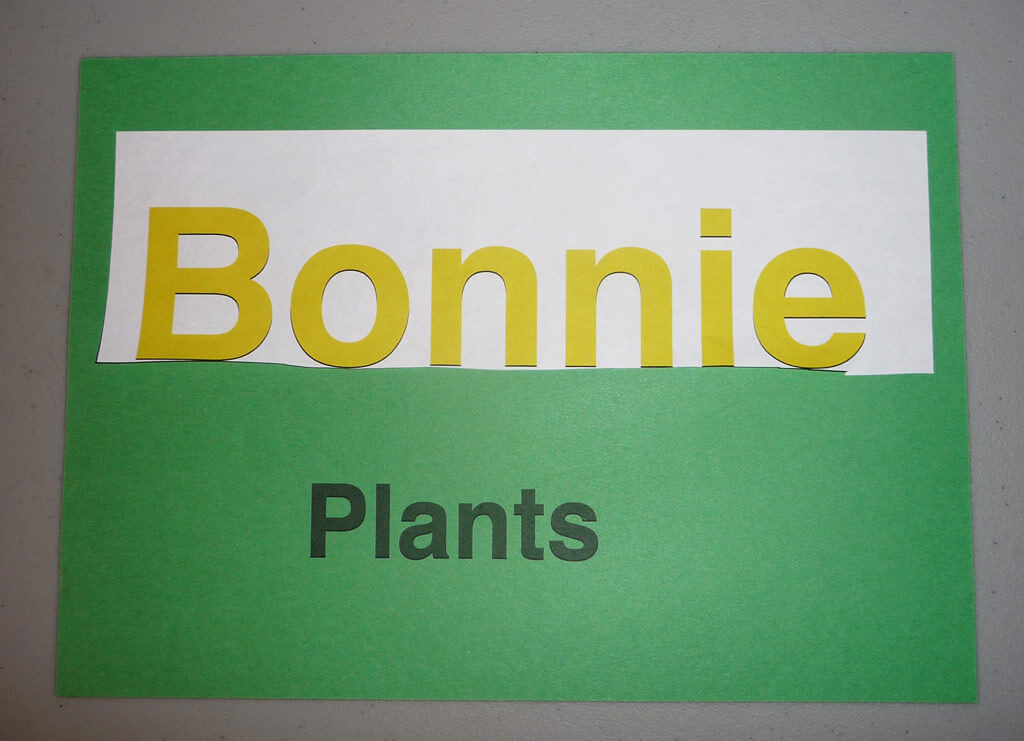
- Green construction paper
- Safety pins
- Green t-shirt
- Brown t-shirt
- Duct tape
- String or rope
- Stapler
- Twist ties or bread twisters
- Scissors
- Wire cutters
- Black marker
- A cup of tea (for that cozy feeling while you create


By Bonnie Gue